![]()
Signable is our newest software partner. Our Signable API allows you to send contracts straight to your contractors' inbox from your Primo Umbrella software. The contractor can then access the document from any device, electronically sign it and send it back to you in seconds. The eSignatures are 100% legally binding and secure, and you can save yourself some time and money on printing and postage costs too - bonus!
GETTING STARTED
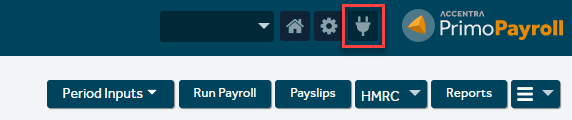
• Open the API tab in Primo Payroll by clicking on the plug icon in the top right corner of the home page
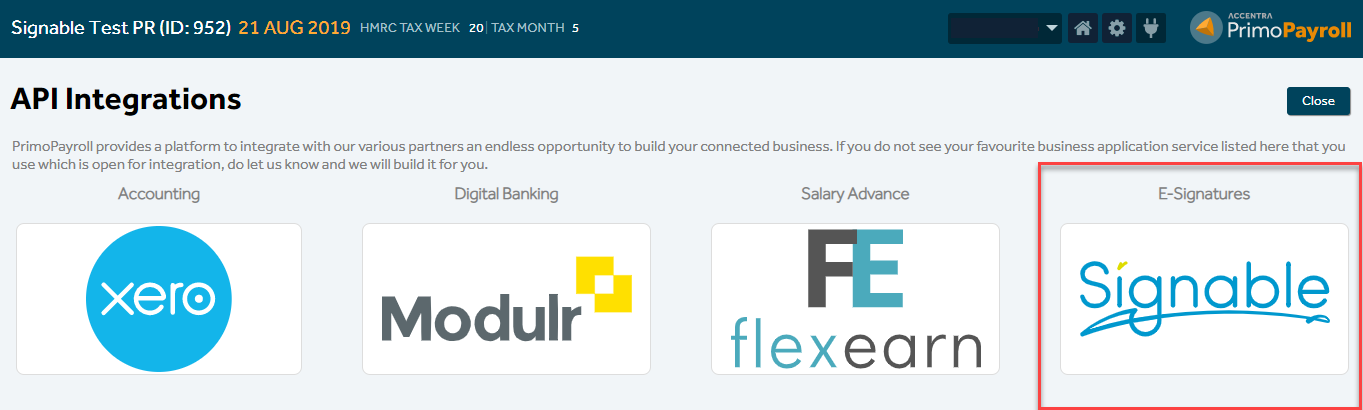
• Click on the Signable logo
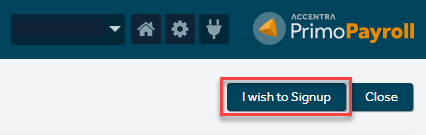
• Click on the ‘I wish to Signup’ button
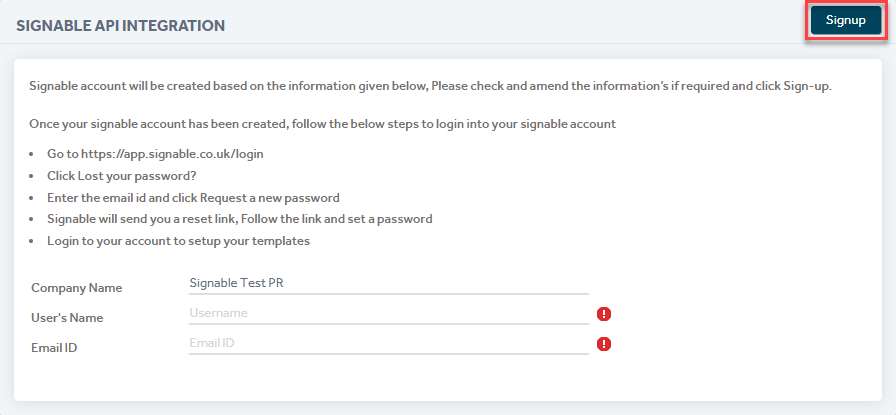
SIGNING UP
• Enter your desired Username and Email address. You will use these to log in to Signable. You will use these to log in to Signable.
• Click ‘Signup’
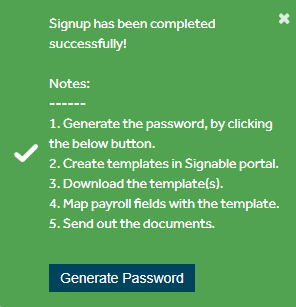
• You should now see the below message to confirm your signup has been successful
• Click on the ‘Generate Password’ button
LOGGING IN TO SIGNABLE
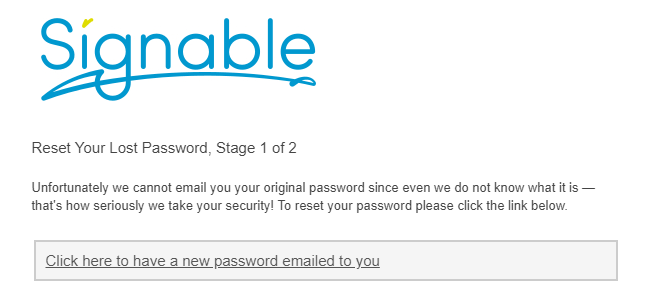
• Enter the email address you used to signup and click the ‘Request a new password’ button

• You will receive an email from Signable containing a link to request a new password
• Click on the link
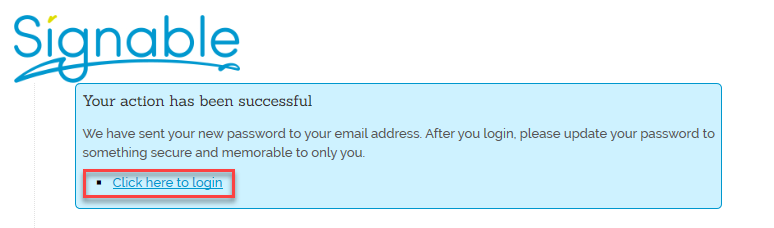
• Click on the ‘Click here to login’ link
• Login to Signable using the password Signable emailed to you (you can change your password in your Signable account)
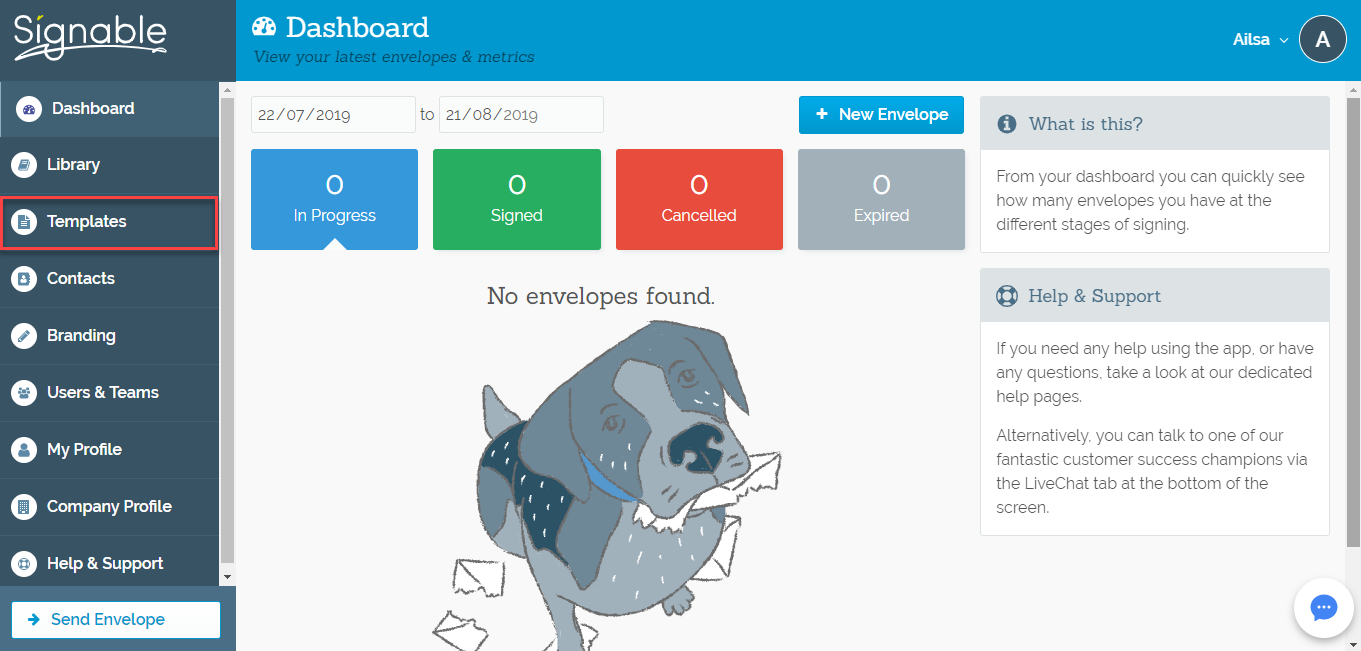
• This will open your Signable dashboard
• Click on ‘Templates’ in the main menu
• Click on ‘+ New Template’ at the bottom of the screen

• Upload your contract document
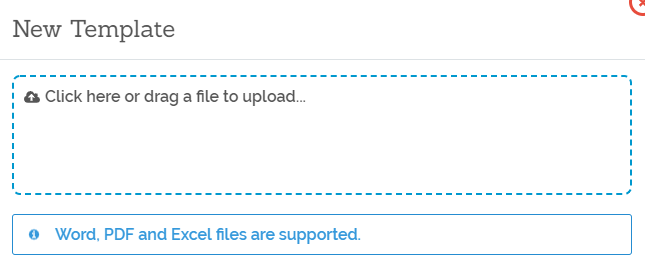
• Your document will now show in Signable
EDITING YOUR FIRST TEMPLATE
• Use the buttons on the right side of the screen to add any required Text, Date, Dropdown, Tick Box and Signature fields to your document
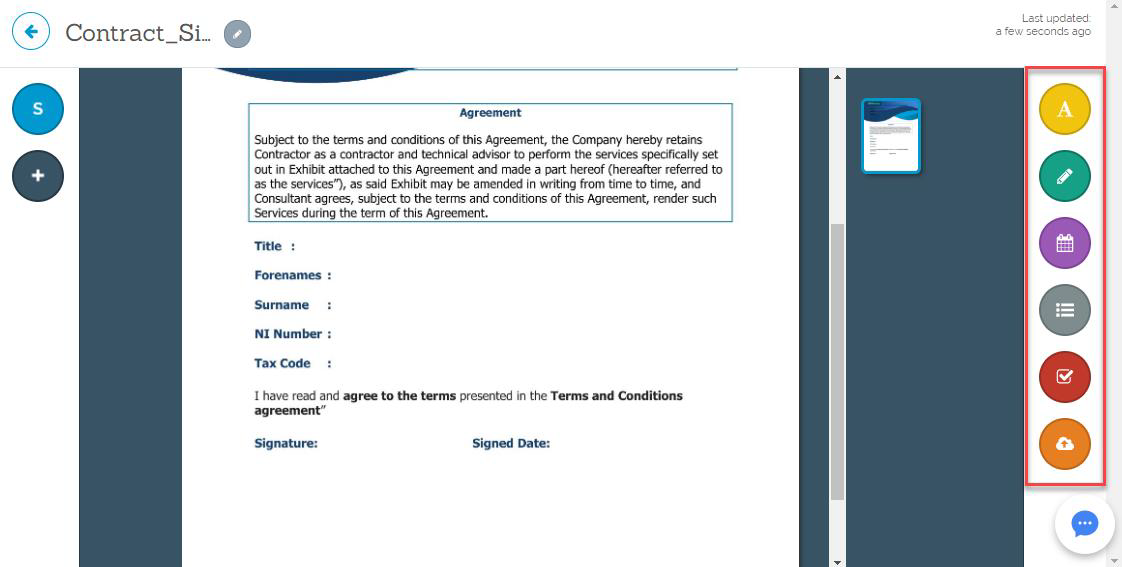
• Note: The layout of these boxes will determine the layout of the data entered. Make sure each box is aligned correctly
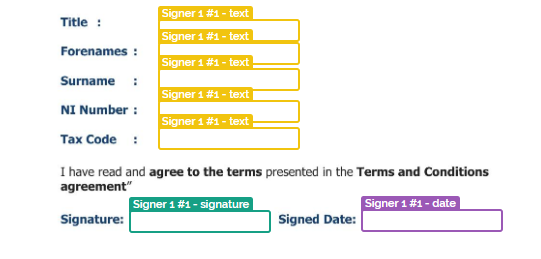
• Click on each text box to assign a name and font style for the box
• Click on ‘+ Assign’ under Merge Fields

• Enter the relevant label for the field in the ‘Add merge field…’ box
• Click on the ‘+’ icon to add the merge field to your list
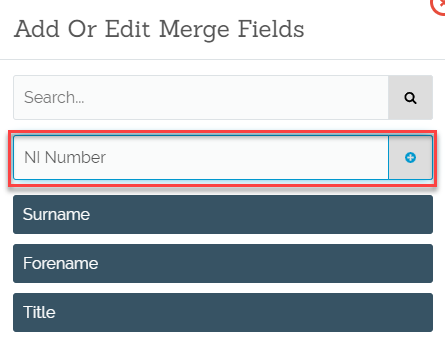
• The new merge field will appear light blue with a check mark next to it once assigned
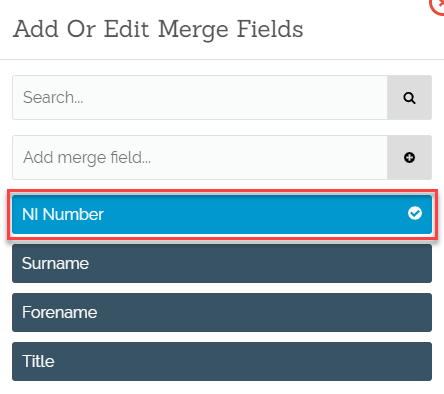
• Repeat this process until all text boxes have a merge field assigned to them
• Signable will automatically save and the template is now complete
• Note: This entire process will need to be repeated for each individual contract if you use more than one
FINALISING SETUP IN PRIMO PAYROLL
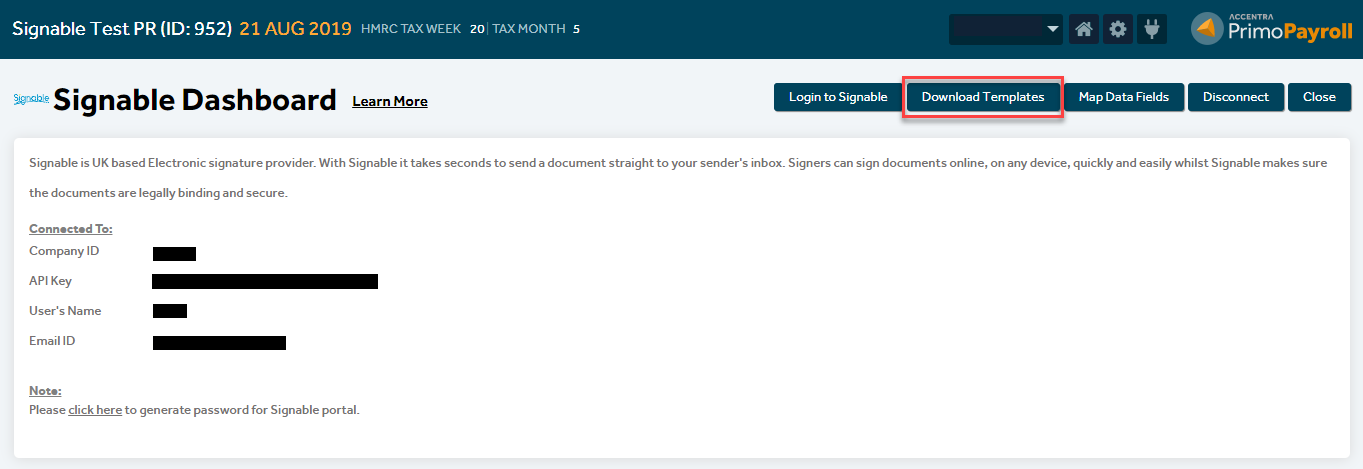
• Navigate back to the Signable API screen by clicking on the plug icon on the top right corner of the home page then clicking on the Signable logo
• You should see the below screen
• Click on ‘Download Templates’ to transfer the contracts you created in Signable to Primo Payroll
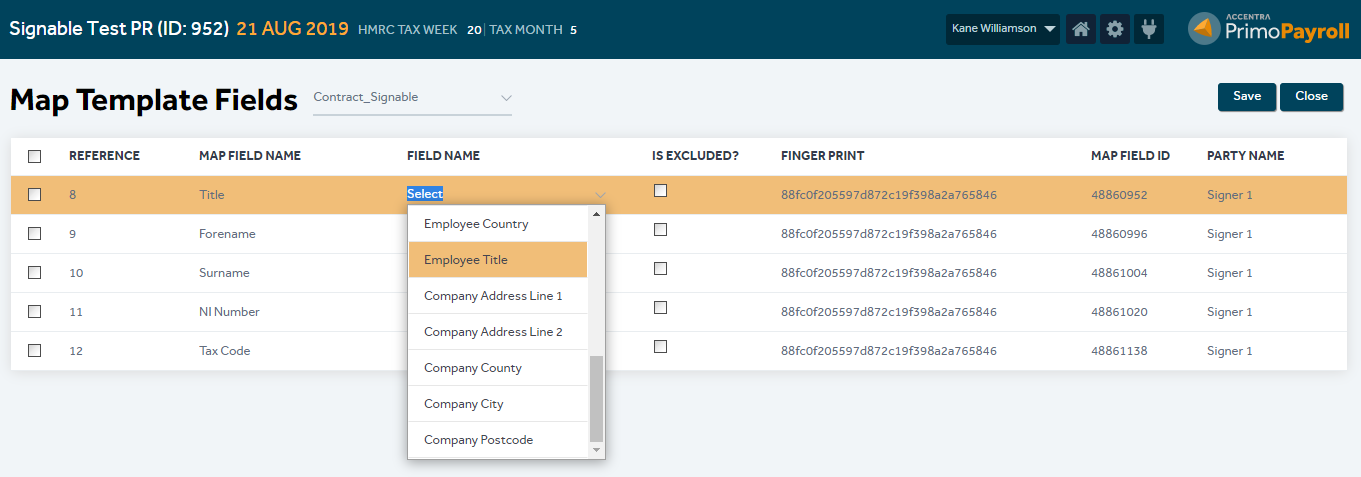
• Click ‘Map Data Fields’

• Select the desired template from the dropdown menu

• Use the dropdown menu under ‘Field Name’ to select the corresponding field title.
Example – Map Field Name = Title -> Field Name = Employee Title
Map Field Name = Forename -> Field Name = Employee Forenames, etc.
• Complete this for all fields
• Select all items in the list of fields
• Click ‘Save’
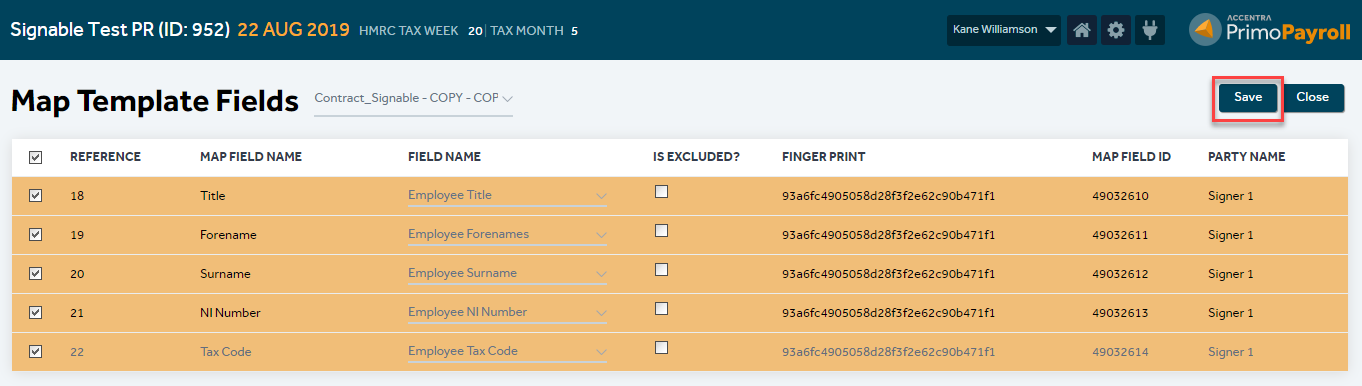
• Setup is now complete and you’re ready to send your contracts
MANAGING CONTRACTS
• Select ‘Manage Contracts’ from the dropdown menu on the right-hand side of the Primo Payroll home page

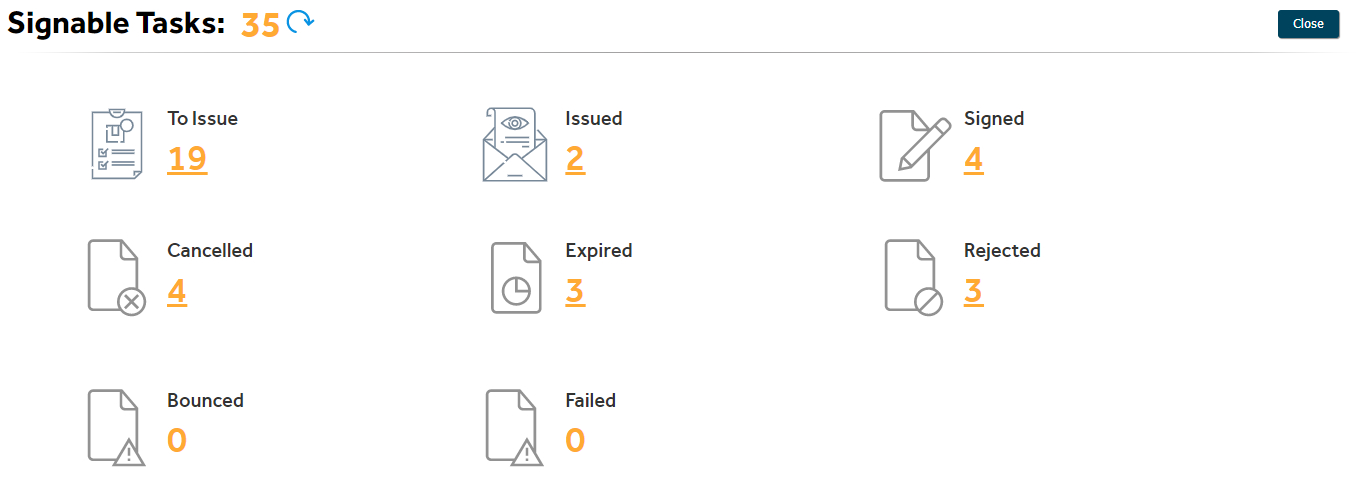
• This will open the Signable dashboard where you can track and manage contracts still to be issued and those that have been issued, signed, cancelled, expired, rejected bounced or failed.
• Click on ‘To Issue’
• Select all employees you wish to send contracts to (you can filter the employee list by pay frequency and contract template)
• Click on ‘Send Contracts’

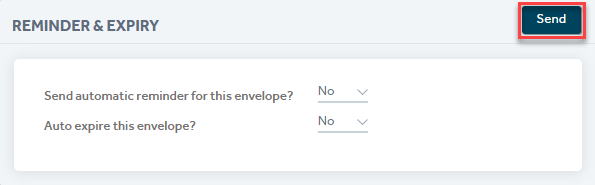
• A pop-up box will appear to give you the option to send automatic reminders or automatically expire the contract after a set time period
• Set these values if required
• Click ‘Send’
• If successful, the following message will appear

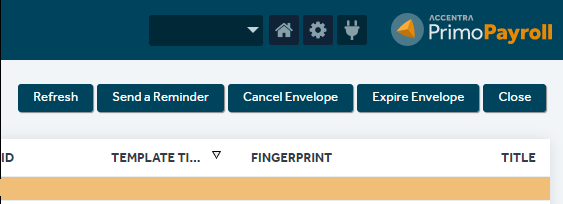
• Click on ‘Issued’ on the Signable Tasks page to manually send a reminder, cancel or expire issued contracts
(Home Page -> Dropdown Menu -> Manage Contracts -> Issued)
• If you need to resend a contract that has been cancelled, you can do so from the ‘Cancelled’ section on the Signable Tasks page.
(Home Page -> Dropdown Menu -> Manage Contracts -> Cancelled)

SUPPORT
If you have any questions or are experiencing any issues with the software please email the support team at support@accentra.co.uk before you call. This will generate a support ticket and allow our team to respond promptly. Please include your Payroll company ID and contact details in the email.
Support Team
Accentra Technologies Limited
Warnford Court
29 Throgmorton Street
London
EC2N 2AT, U.K.
Phone: 0845 456 7181
www.accentra.co.uk