This article will guide you in integrating Primo Umbrella with Signable
Signable is a UK-based electronic signature software provider that makes contract signing easy. Users are able to send electronic documents and to get them signed legally and safely online.
Sign-up
Step 1: Click the ‘Integrations  ’ icon as shown below.

Step 2: From the Signable section, click ‘Connect’ and then click ‘Sign-up’ in the upper right corner. You can also find a detailed user guide for Signable by clicking the link shown below.
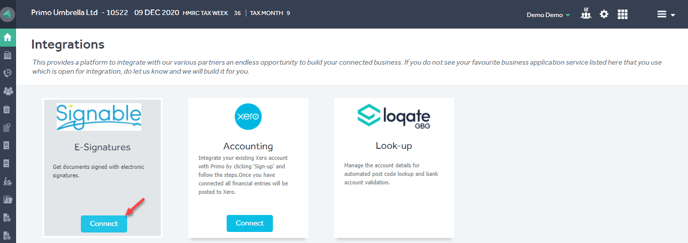

Step 3: In the Sign-Up screen, enter the Username & Email ID of Signable and click ‘Sign-up’.
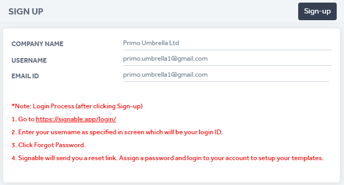
Step 4: Click the link https://signable.app/login/ and click ‘Forgot Password’, enter the email address you’d used for sign-up and click the ‘Send Reset Link’ button. Check your inbox for the email from Signable and click the Send Reset Link. Enter your desired password, and click ‘Reset Password’. You will now be able to login to your account which is linked with Primo Umbrella.
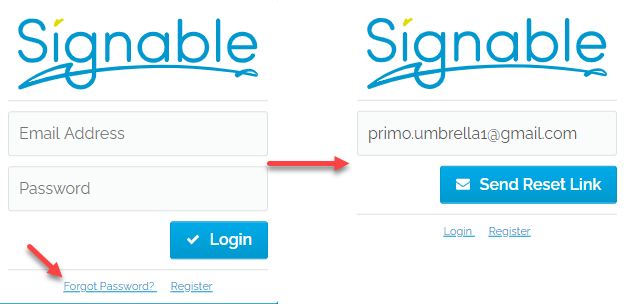
Adding Templates to Signable
Step 1: Once you have a contract template ready, select ‘Templates’ from the side menu and click the ‘New Template’ button on the upper right corner. Either drag the file to the designated upload area or select it from the folder.

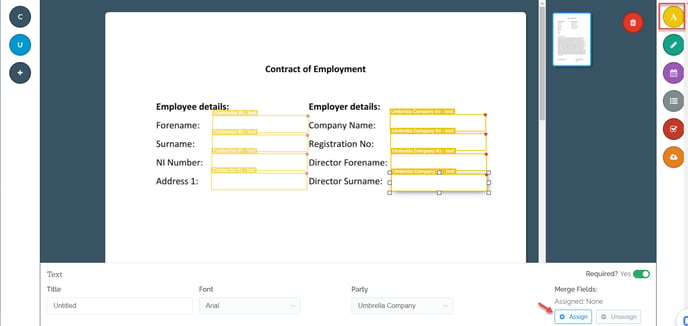
Step 2: On the left-hand side, you have the option to Select, Add or Edit the signer party. Parties will only be able to fill in the fields assigned to them. The tag on top of each field shows which party the field is assigned to.
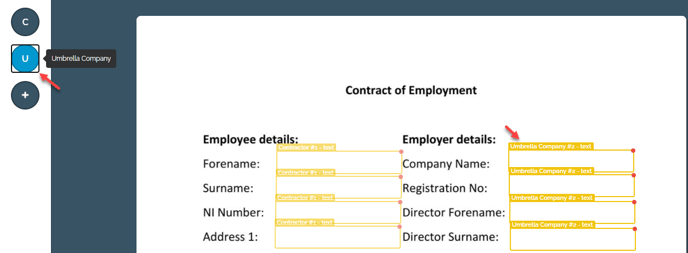

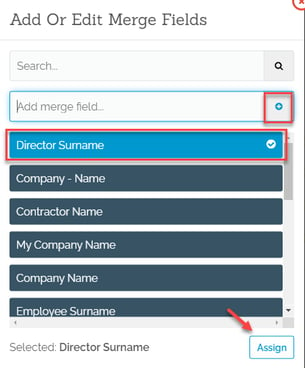
Step 3: All the field types are available on the right-hand side. The ‘Text’ box will have the main function as this field type is merged later with your Primo Umbrella data. To assign a specific text box, select it and click the ‘Assign’ button in the lower right corner. You can add a new merge field or select the one you’ve already created.
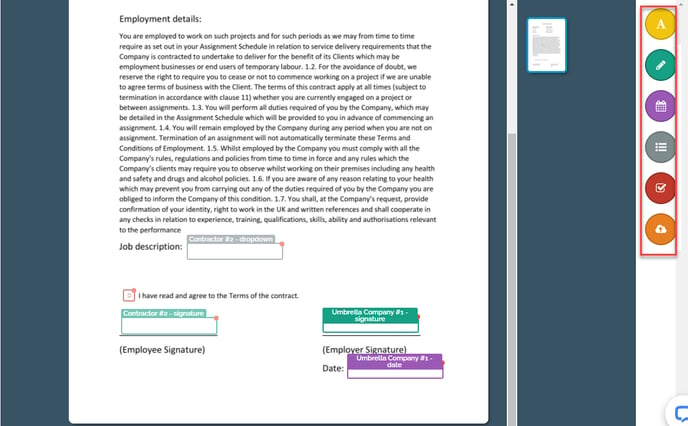
Signatures, dates, dropdown selections and checkboxes are added in a similar way using the respective buttons on the right and selecting the responsible party. The changes are automatically saved by Signable and you can exit the template editing.
Mapping Template Fields
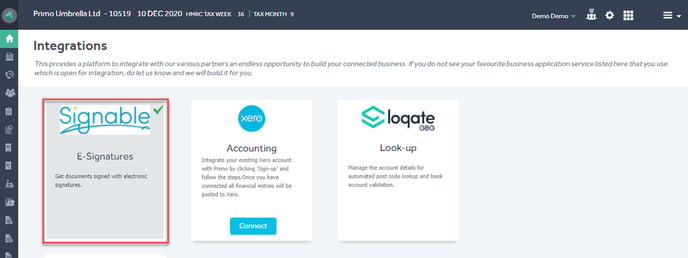
Step 1: Click the ‘Integrations  ’ icon and click ‘Signable’ as shown below.

Step 2: Click the ‘Update Status’ button under the ‘Templates’ section to download any new template or update the existing ones. Click ‘View’ to open the contract template list and edit the additional settings of the contracts available on Signable. By clicking the ‘Edit’ icon in the Action column, you can set an automatic email reminder for the pending contracts, expiration periods, contract group and type.
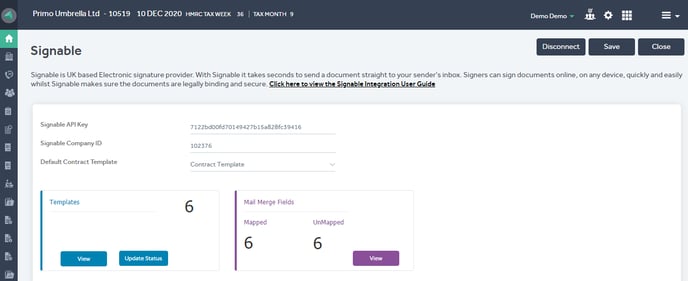

Step 3: Open the ‘Mail Merge Fields’ by clicking the ‘View’ button and select the template you wish to map (assign) the fields from.

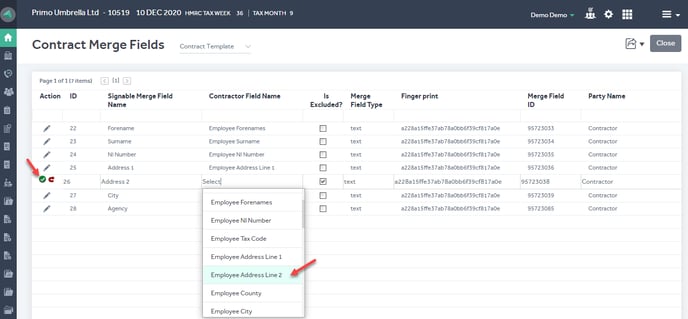
Click the ‘Edit’ icon on the left side and select the corresponding field from the dropdown menu. Once done, click the ‘Apply Changes  ’ icon.
Contract Sending & Tracking
Step 1: From the Task Manager, click the ‘Contracts’ tab and click ‘View’.
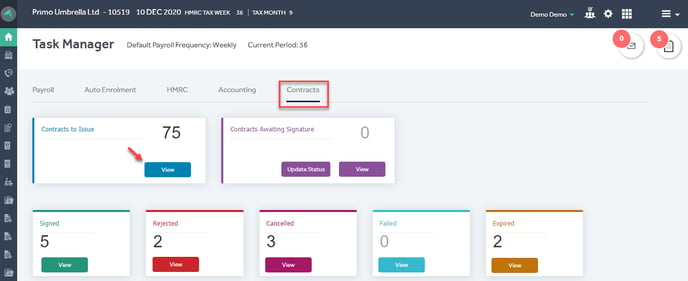
Step 2: Select the ‘Contract Template’ and the ‘Contractors’ you wish to send the contracts to and click the ‘Send Contracts’ button on the upper right corner. If you had already issued the contracts by any other means, you can remove them from the list by selecting the contracts and clicking ‘Remove This’.

Step 3: Once you have sent the contracts from Primo Umbrella, you can track its progress from ‘Contracts Awaiting Signature’. Click ‘View’ to open a list of issued contracts, in this screen you can also manually send a reminder, update the status or cancel any envelope sent which will prevent the recipient from signing or viewing the document.
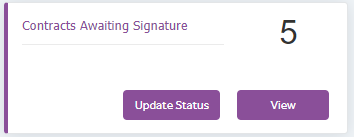

The ‘Update Status’ option will retrieve the status of the issued contracts, whether they’ve been signed and returned, failed or rejected for any reason. Depending on the status, the contracts are sorted as shown below.

Step 4: In the ‘Signed’ section you’ll find all the signed contracts which you can either view or download by clicking the ‘Download Contract’ icon.

