
This article will guide you in integrating a Pension Provider with the Primo Company. The supported pension providers are Smart Pension, NEST, NOW, L&G, AVIVA and The People’s Pension.
- Staging Date
- Integrating with a Pension Provider
- Smart Pension
- Providers using PensionSync
- Setup Payroll Only
- New Sign-up
- Confirm Scheme Sign-up
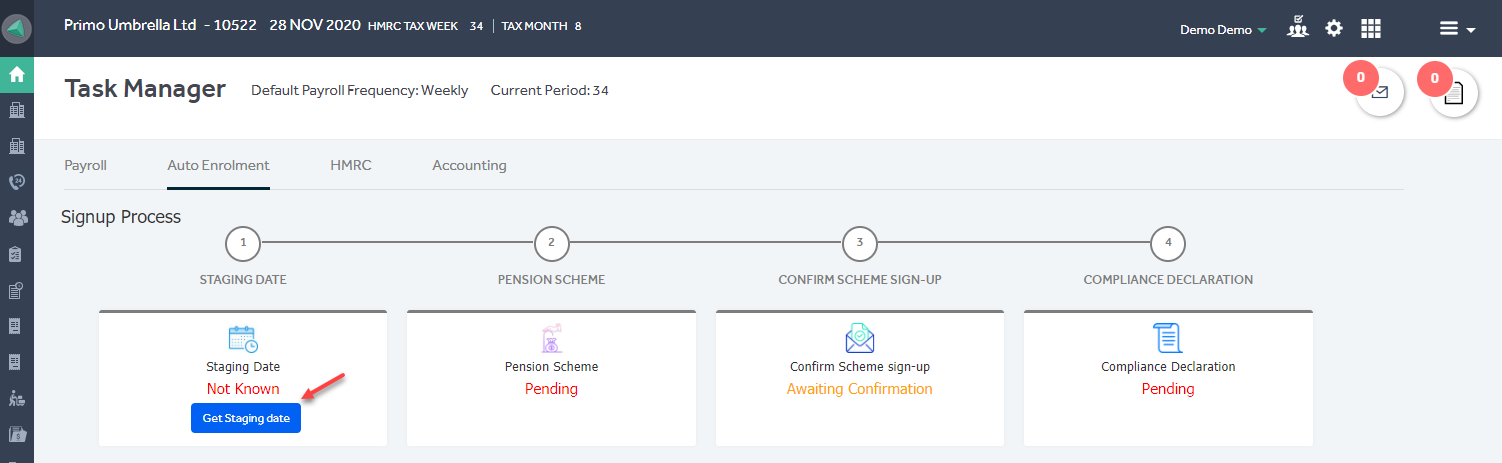
1. Staging Date
From the Task Manager, click the ‘Auto Enrolment’ tab and click ‘Get Staging Date’ to automatically retrieve the staging date/duties start date. The program uses your company’s PAYE reference to fetch these details from The Pension Regulator (TPR).
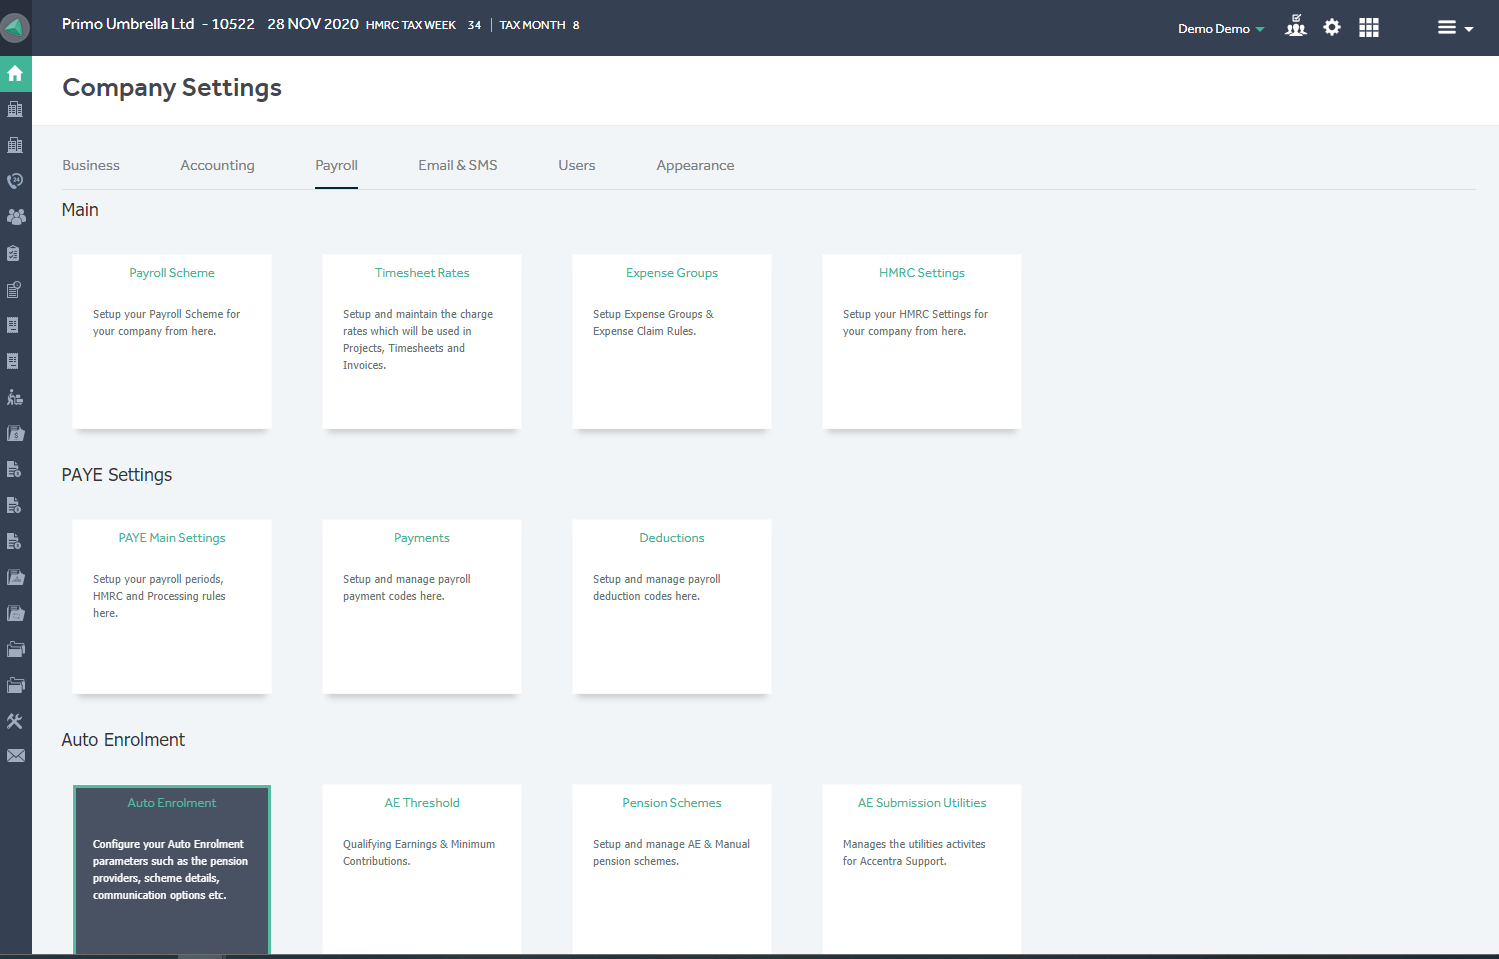
If this fails for any reason, you can manually enter the ‘Staging Date’ in the Settings → Payroll → Auto Enrolment → Staging Date.
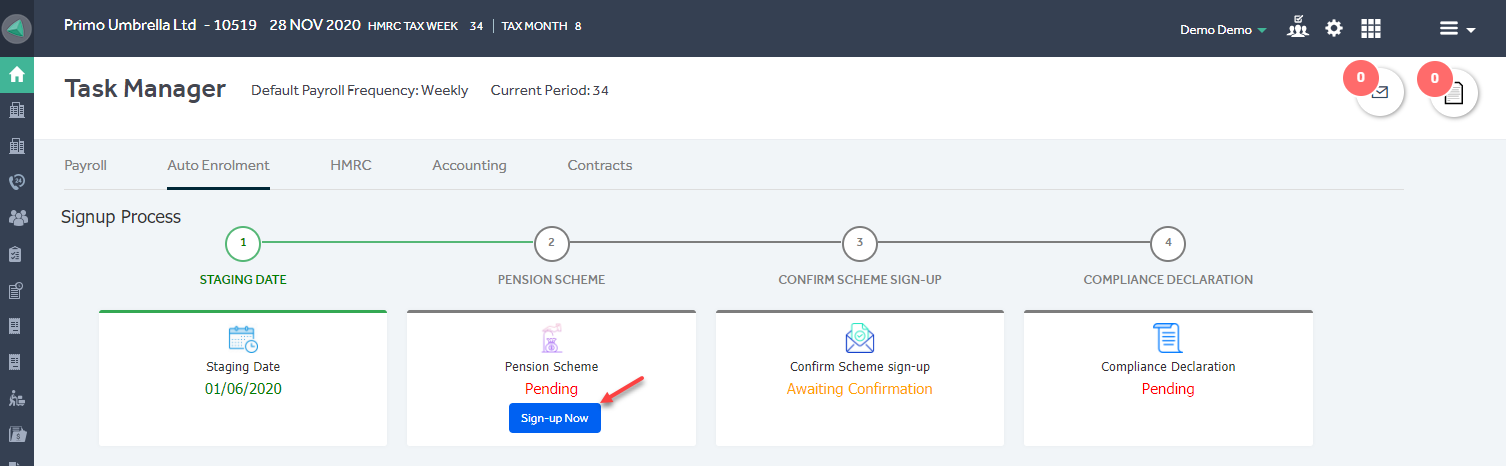
2. Integrating with a Pension Provider
From the Task Manager → Auto Enrolment → Pension Scheme → Click the ‘Sign-up Now’
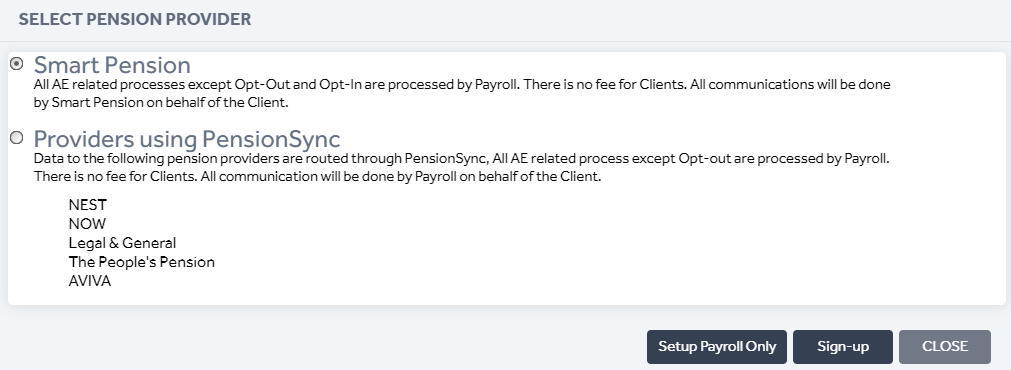
2.1 Smart Pension
Smart Pension is directly integrated with Primo, hence connecting an existing Smart Pension scheme or creating a new scheme is quite easy. Select ‘Smart Pension’ and click the ‘Setup Payroll Only’ if you already have a pension scheme with Smart Pension, or if you wish to create a new pension scheme with Smart Pension, click the ‘New Sign-up’.
2.2 Providers using PensionSync
Pension Providers such as NEST, NOW, L&G, AVIVA and The People’s Pension are integrated with Primo using a 3rd party software called ‘PensionSync’. If you’re using any of the aforementioned pension providers, then you’re required to register yourself on PensionSync Portal and choose a subscription plan as per your need. Only then the communication (Pension file upload/Opt-in/Opt-out) between Primo & the Pension Provider will take place.
2.3 Setup Payroll Only
To be used only when a company already has an account with the pension provider (supported by Primo) and wants to integrate the same with Primo.
Select the Pay Frequency, Employer ID, Pension Provider, Pension Calculation On and the Postponement Period and click ‘Save’. This will redirect you to PensionSync Portal where the user is required to create an account and subscribe an edition with PensionSync.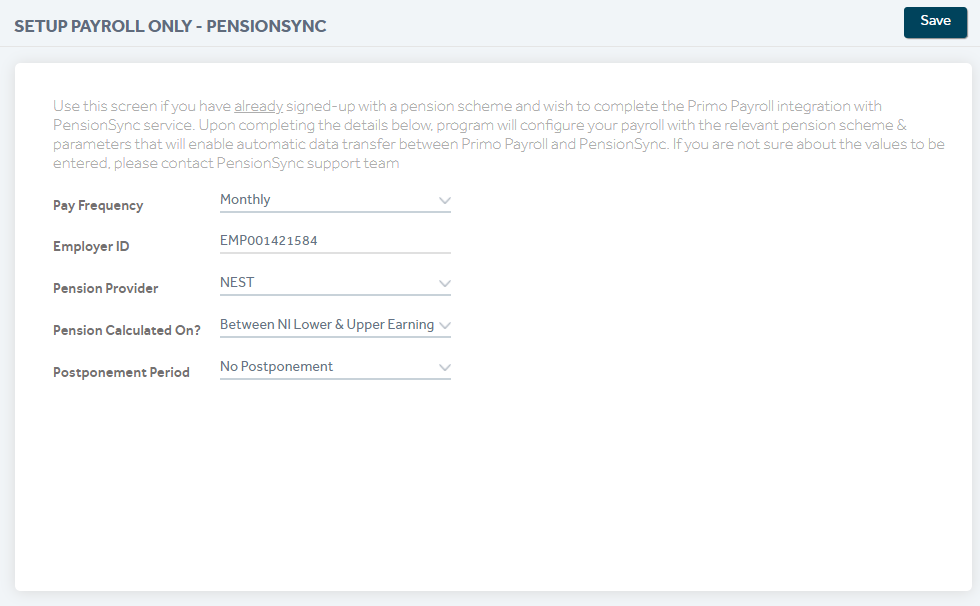
Follow the below steps on the PensionSync portal
- Fill-in the company details and click ‘Register’ and a PensionSync account will be created. From the PensionSync Dashboard, click the ‘Subscription’ and choose an edition.
- Click ‘Open SMT’ and from Account → Authorisation → Pension Scheme → Click the link to ‘Authorise’ → Enter the Pension Provider’s login username & password.
- Wait for the pension scheme status to change from ‘Inactive’ to ‘Active’, which may take a maximum of 30 mins.
2.4 New Sign-up
To be used when a company is not signed-up with a pension provider yet and wants to create a new pension scheme with one of the supported pension providers.
- For Smart Pension, NEST, NOW, AVIVA & TPP, we recommend you to go to the Pension Provider’s portal, create an account and a pension scheme and then come to Primo to do the ‘2.3 Setup Payroll Only’.
- For Legal & General, click the ‘Sign-up’ to start the process. This will take you to the PensionSync portal where you’re required to create an account and subscribe an edition with PensionSync. Click the ‘New Scheme’ to add a new scheme and follow the steps mentioned on PensionSync portal.
2.5 Confirm Scheme Sign-up
For Pension Providers using PensionSync, after the ‘Setup Payroll Only’ or ‘New Sign-up’ has been done, the user is required to download the pension scheme details into Primo.
From the Task Manager → Auto Enrolment → click the ‘Confirm Scheme Sign-up’ and click the ‘Retrieve Scheme’. Primo will then download the pension scheme details from the Pension Provider via PensionSync and map it in the Primo Settings.