
This article will guide you in creating assignments and timesheets in Primo Umbrella.
Creating Assignments:
Step 1: Click ‘Assignments’ and click the + icon to add new assignments.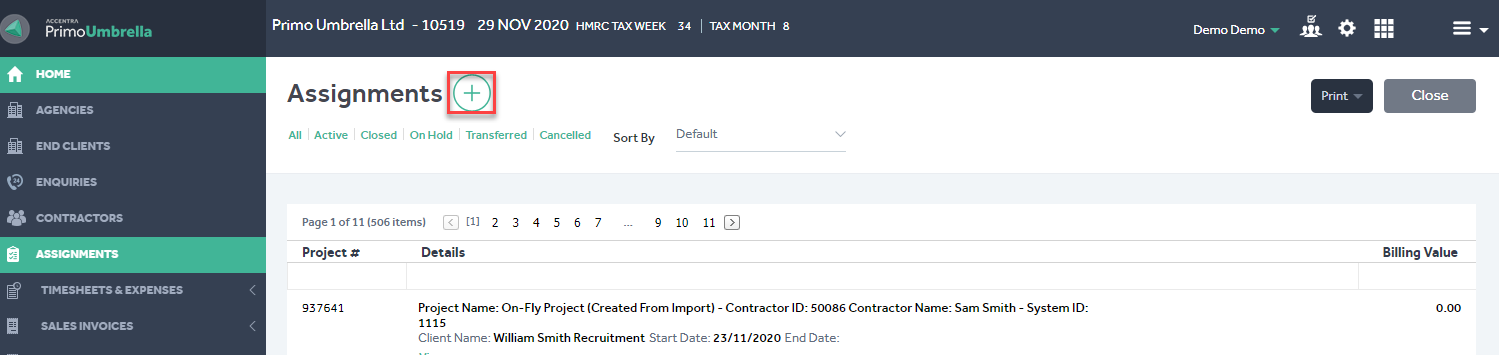
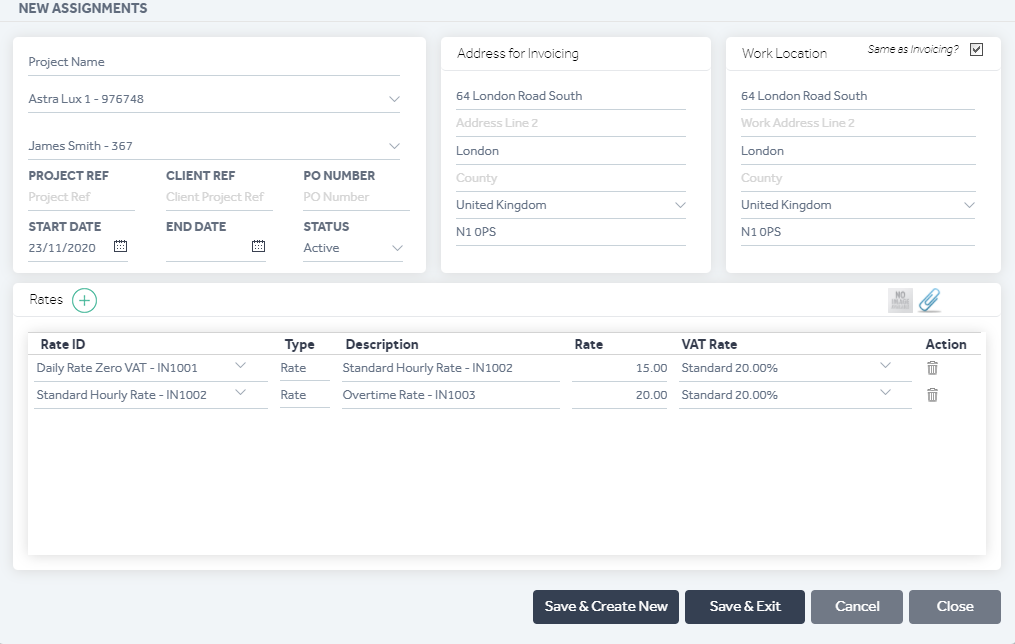
Step 2: Enter all the relevant information, select the rates applicable to this assignment and click ‘Save & Exit’. If you wish to create a new assignment after creating this assignment, click ‘Save & Create New’. You’ll see a pop-up message confirming that the assignment has been saved successfully.
Creating Timesheets
Creating individual timesheets
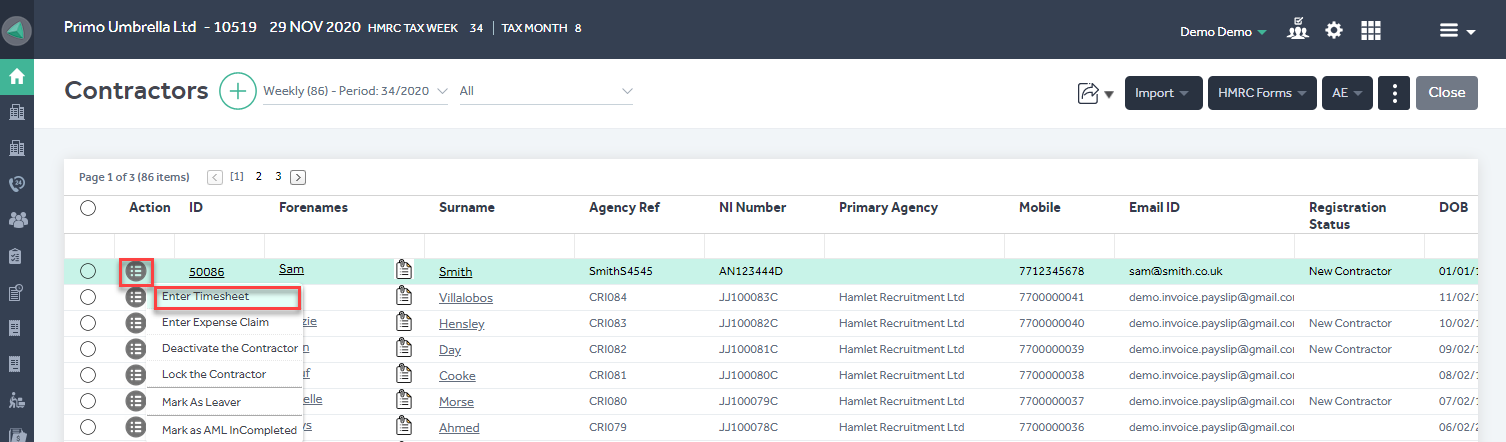
Step 1: From the ‘Contractors’ list screen, click the ‘Action’ dropdown and select ‘Enter Timesheet’.
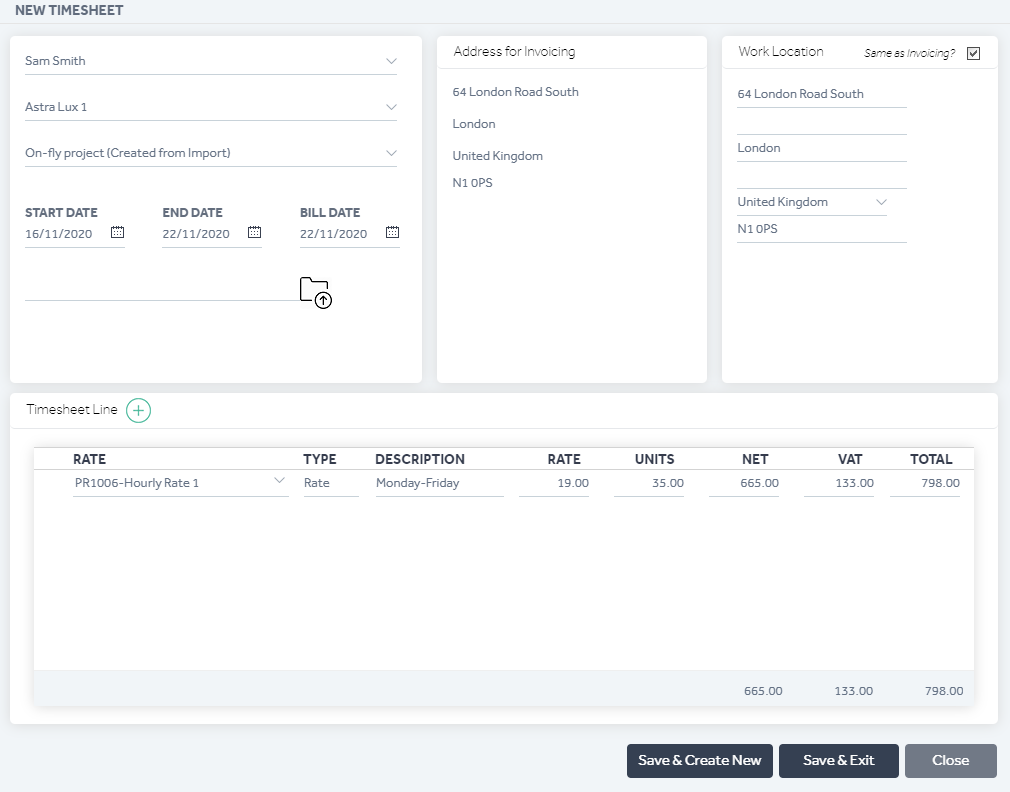
Step 2: Enter all the relevant information and click ‘Save & Exit’. If you wish to create a new timesheet after creating this timesheet, click ‘Save & Create New’. You’ll see a pop-up message confirming that the timesheet has been saved successfully. If required, you can also attach a copy of the timesheet.
Creating bulk timesheets (Import Method)
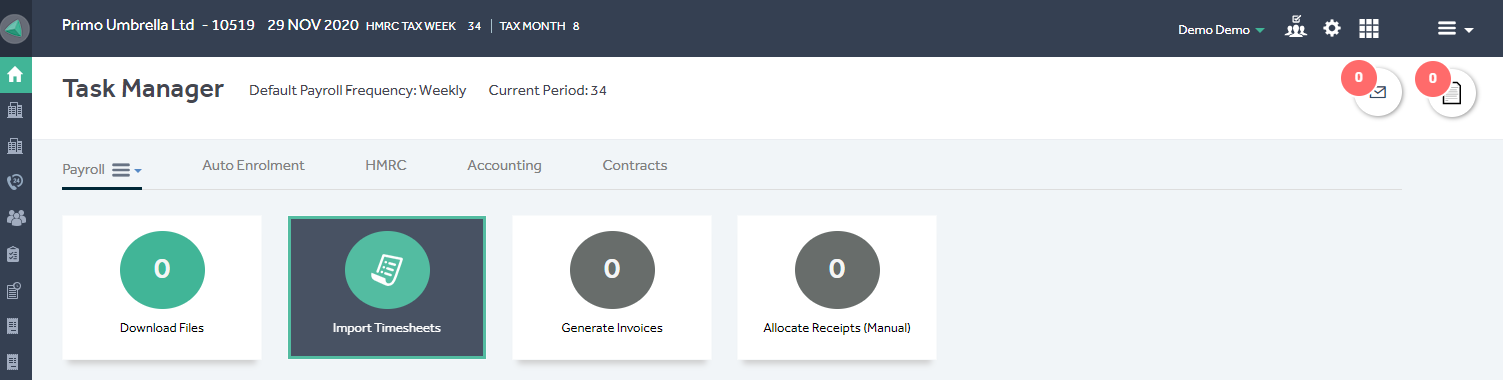
Step 1: Click ‘Import Timesheets’ from the Task Manager.
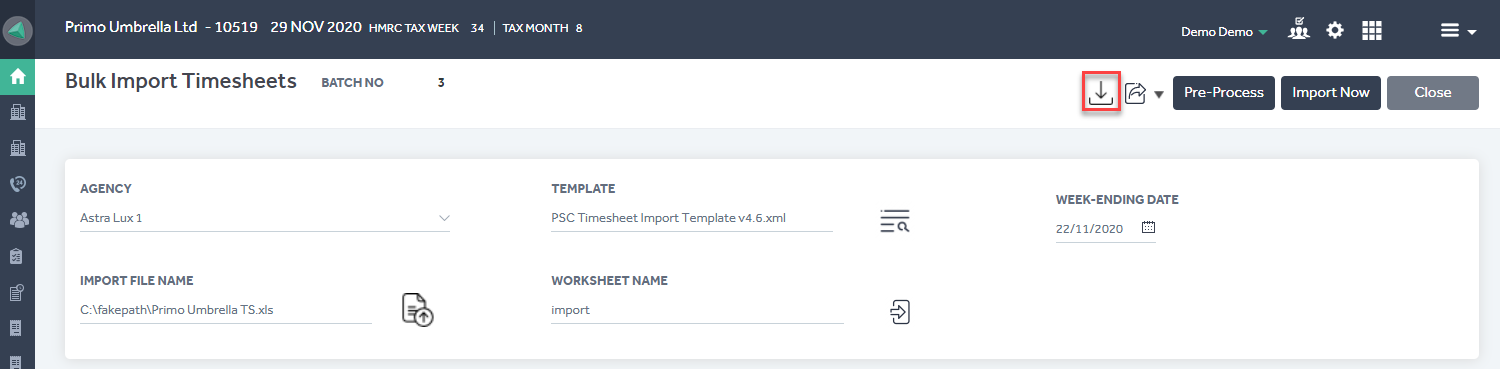
Step 2: Click the  icon to download the timesheet template file. This will open an Excel file where you’re required to enter the timesheet details into the excel template and save your file.
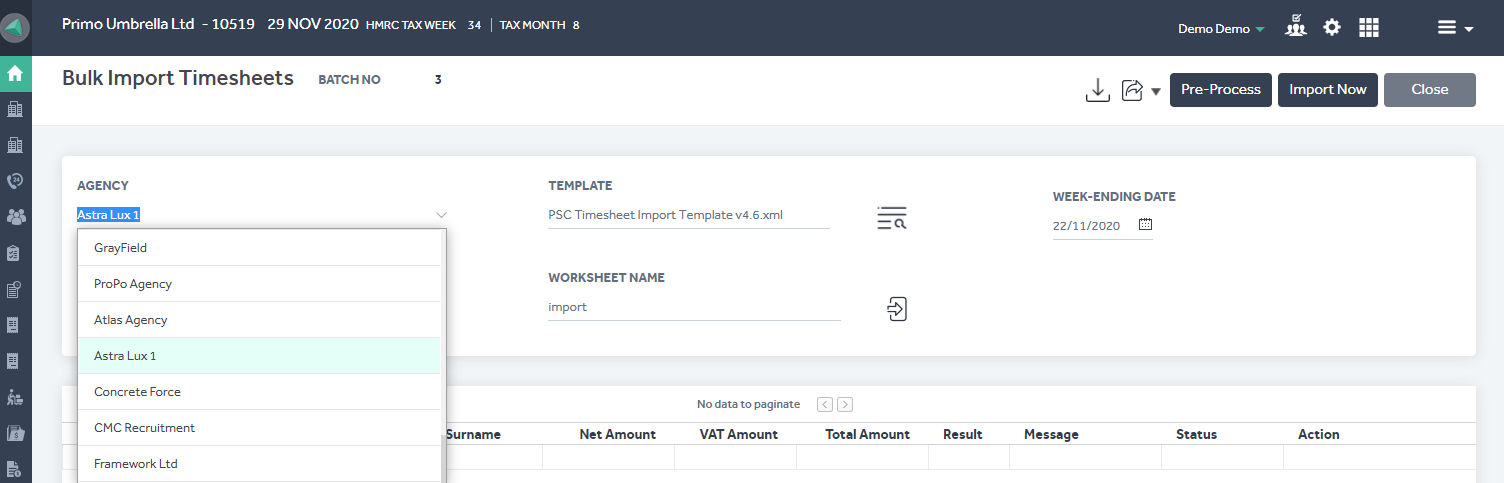
Step 3: Select the agency that needs to be invoiced from the dropdown list.
Step 4: Select the import template file from the list ( ) and click ‘OK’ (This is necessary only during the first timesheet import, the software will keep this selection in its memory).
Step 5: Enter the applicable week-ending date.
Step 6: Click the ‘Upload File’ icon, select your completed timesheet file and click ‘Upload’.
Step 7: Enter the name of the worksheet within your Excel file that contains the timesheet data and click the ‘Load Data’ icon  .
.
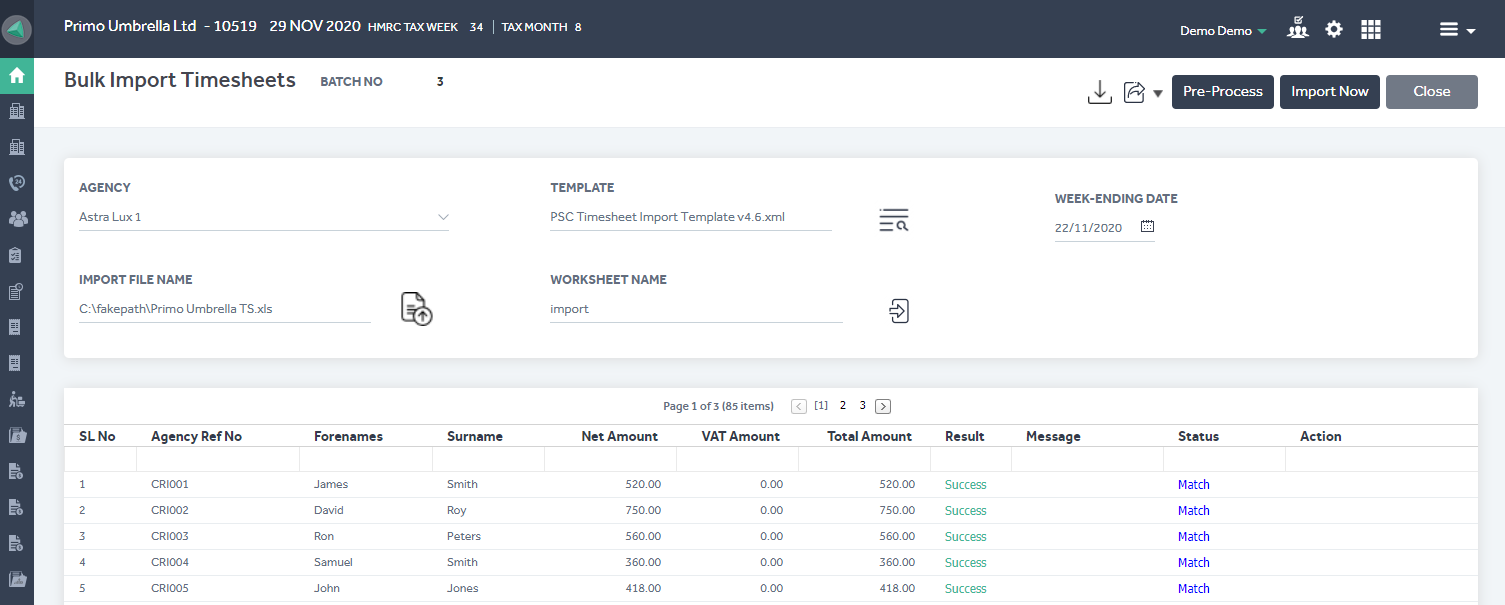
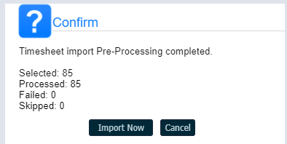
Step 8: Pre-Processing will match timesheets with the contractor records set up. If the pre-process is successful, click ‘Import Now’. If the pre-process is not successful, click ‘Cancel’, make any necessary changes to your data and follow the items from Step 3 again.
Once the timesheet import is complete, you’ll see a pop-up message confirming this.